
We’ve discussed the benefits of personal standard operating procedures (SOP) for our own flying. We’ve taken the main elements (“Using an SOP in GA,” September 2016) and began creating our own (“DIY SOP Considerations,” February 2017). Meanwhile, we tried to wean you from your do-list in favor of a flow and check (“Change Your Checklist,” October 2016 and “DIY Flow and Check,” January 2017). In this final article, we assemble a personal SOP for a light GA single.
Art by Ben Bishop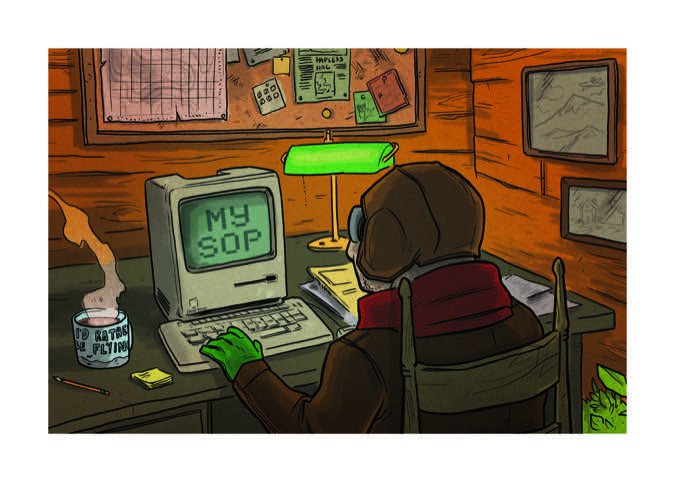
Getting Started
Our sample aircraft is a 1982 Cessna 172 Cutlass RG with a Garmin GNS 530 and single-axis autopilot. You mostly fly multi-leg IFR routes of about 300 NM per leg for business and personal travel. You have about 300 hours in the aircraft after trading up from a fixed-gear version. Your mission with an SOP is to get your procedures down in writing so that you’ll actually stick to them while periodically tweaking your cockpit management.
We’ll go at this from the standpoint that your SOP is meant for IFR flights and often in actual instrument conditions, which require disciplined planning and cockpit routines to maximize safety. A local VFR practice flight or a short hop in CAVU weather won’t require all the elements of an SOP that emphasizes IFR operations.
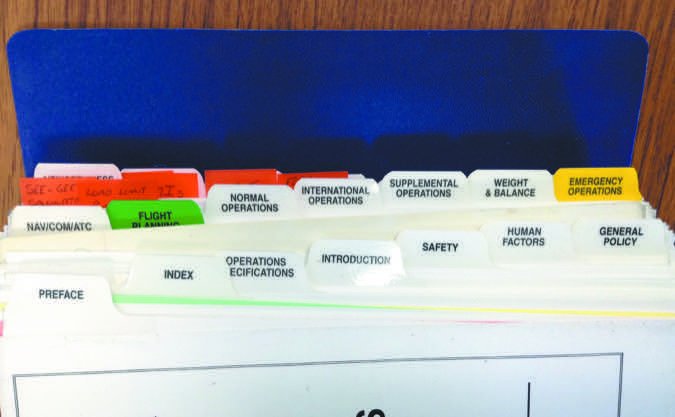
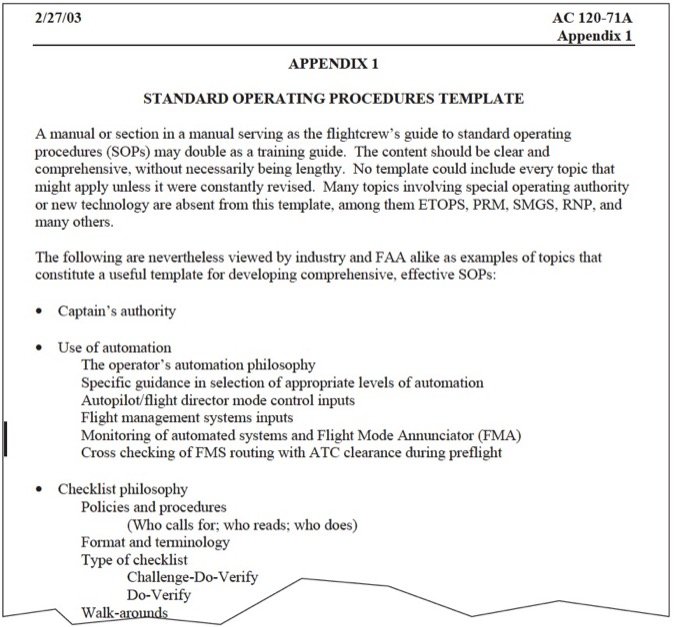
With that in mind, we started with the aircraft POH and our personal checklists. We also referenced the FAA’s guidance on standard operating procedures, AC 120-71A, for weather planning, use of checklists and the PIC’s briefing for takeoff, descent, approach and landing. (Note: Since this writing, the AC has been significantly altered to 120-71B. The -71A version is still on the FAA website.)
The POH provides the hard numbers for the aircraft: airspeeds, power settings, performance figures, weight and balance and, for purposes of the SOP, is the go-to reference for any question on operation of the aircraft systems. Also, the SOP will specify the type of checklist to use for each phase of operation, such as “Flow” for pre-takeoff tasks and “Callout” for pre-landing checks.
Begin with a short summary of the purpose of your SOP, which is meant to spell out your personal expectations for Single-Pilot Crew Resource Management. (In some circles this is known as SRM, Single-Pilot Resource Management). Good SRM means having standard procedures designed to maximize safety, manage workload, and clearly spell out the expectations for the single pilot flying under IFR. For example:
This SOP is based on personal requirements to achieve the best Single Pilot Resource Management (SRM). It outlines procedures to be used for every non-local flight, particularly those under IFR. Safety is the basis for all procedures, as the increased workload for a single pilot flying under IFR is such that consistent procedures are essential to maximize safety.
Planning Your Plan
Now it’s time to put together a template for the Flight Planning section. Take some time to jot down how you’d ideally do your flight planning for your typical IFR flights and you’ll find that this exercise really gets you to cover all the details in the best order possible. If you’ve been used to following the same routines and using an app to flight plan, you might not need to write down each step, but notice that there are some good reminders here to review your personal minimums (which you should be writing down periodically) and check that additional equipment for the flight, such as oxygen, is topped off and ready to go.
My own steps for a flight plan procedure look like this: The route, weather and flight briefings will take place for each flight:
1. Create route and obtain standard briefing via DUATS/EFB.
2. Compare Personal Minimums (see worksheet Appendix 1) with emphasis on departure and arrival conditions and alter departure and/or flight plan as needed.
3. Designate one alternate if destination will be forecasted VMC; two if IMC, using the standard criteria (800-2)/(600-2) or personal minimums as applicable.
4. Determine supplemental equipment required, if any, including: portable oxygen, survival kit, flotation devices
5. Complete flight plan with: expected climbout, en route and descent performance and fuel, weight and balance calculations, takeoff and/or landing performance if any new or unknown factors exist including runway lengths, obstacles, winds and maximum gross weight departures.
6. Go/No-Go Decision: Any exceedance of personal minimums will result in a no-go for the planned route or departure time. If desired, replan with the required sequence using an alternate route or departure date/time.
7. Portable equipment checklist: Use as part of preflight inspection: EFB with current data, flashlights—red and white, radio with batteries
8. Personal Minimums (See worksheet in Appendix 1 of AC 120-71A.)
Before You Go
Unlike professional operations, it’s unlikely you have a Minimum Equipment List. But you can consider compiling a simpler version as part of an SOP. Some pilots conduct every preflight inspection—even on local VFR flights—as if they’re going on a low-weather IFR cross-country so that any discrepancies are caught during preflight instead of the worst possible time.
What if I find that the Cessna’s single-axis AP isn’t working during a pretakeoff check? Will it matter if the planned flight is in VMC the entire way, or will it only matter if IMC is expected along the route? My SOP dictates that an inop autopilot means I’m limited to daytime, VMC-only flights of less than 150 NM. Whatever you decide, write out how you’ll handle discrepancies (include the legal minimums of 14 CFR 91.205) and decide if you’re going to differentiate between VMC and IMC, or day and night.
There’s also the matter of checking that stuff in the cockpit is good to go, such as portable devices and handheld radio backups (charged?), flashlights (working?) and electronic charts (updated?) It’s easy to neglect these things until you realize you need them, and so requiring that you keep a short checklist of “portable equipment” handy could serve as a reminder to include these items in your preflight procedures. I included this in my SOP as a final step to preflight planning.
Automation and Checklists
As we discussed previously, you’ll have a page outlining your approach to automation and checklists. When you engage and disengage the AP and when to add or subtract automation is up to you, but write out specific criteria and put it into practice. Altitudes for autopilot arming, engaging and cross-checking are essential callouts for departure and approach. Checking selected altitude and current course, then re-checking with every change, should be automatic for you.
For the Checklist section, gather your checklists in the logical flight sequence and note the type of execution you want: Flow, Flow and Check, and Callout. If you need to revamp your current checklists, now’s the time to do that; include a list of the checklists in the Checklist section.
Single-pilot operations often don’t allow for simultaneous tasks or checklists, so it’s best to have a policy in your SOP for ground movement: Heads up at all times while the aircraft is moving, and call out “clear left, clear right” at all intersections.
Abnormals and Emergencies
Like the abnormal and emergency checklists in personal aircraft, standard operating procedures can never cover every situation, but they’ll ensure you’re maximizing SRM by keeping you in the mindset of “Safety first, airplane last.” In fact, consider placing this motto in a strategic place in an SOP as a reminder of what’s most important (kinda like that saying about reminding yourself before takeoff that once you start rolling, the airplane belongs to the insurance company.)
So for the Abnormal and Emergency sections, go over the related checklists and write down the answers to three questions: When do you divert to an alternate airport? When do you use checklists, and when do you use memory flows? And finally, when would you declare an emergency?
Common causes for diversion include adverse weather ahead, icing conditions, and the need for fuel. While these are self-explanatory, writing these out in an SOP ensures these are fresh in your mind while en route check periodically for potential alternate airports nearby should an unexpected diversion become necessary for weather or mechanical problems. And consider adding hard limits such as a requirement that any time estimated fuel at landing is less than 30 minutes, a diversion is required.
As in the checklist section, you’ll review each item in the Abnormal and Emergency checklists, referring to the POH as needed, and include in the SOP which tasks allow enough time for checklists (such as a nav failure) and which do not (loss of power on approach).
Dress Rehearsal
A few pages of the SOP will be dedicated to reviewing callouts including approach briefings, flying an approach and pre-landing checks. This is a great way to put in writing the callouts and flows you should be doing in the cockpit. Once you have these procedures down the way you want to do them, rehearse them in the armchair until they’re automatic.
Now you see how much there is to memorize, practice and really use in flight. The SOP is doing its job here by requiring that you develop consistent routines, put them in writing, and use them.
One of the biggest side benefits of a written SOP is that it helps you track improvements over time. Standard operating procedures, along with checklists and related documents, should undergo regular updates. Regs can change, your cockpit flows will get more efficient, and you’ll likely encounter a new situation that calls for a review of the procedures. Of course, your skills and capabilities should improve over time, which needs to be reflected in your SOP.
Better yet, you have a document that will help ensure you’ll stick to your own policies on flight planning, aircraft condition, weather, and SRM. You’ll be confident that you have the tools you need to make every flight as safe as it can be and become even more familiar with your aircraft.
A Personal Approach
A pre-rehearsal while sitting in the cockpit and going through checklists in the Cutlass for approach and landing phases helped get the best flows documented. The result:
Approach Briefing (Callout):
– Approximately 20 minutes to destination, confirm: Approach type and entry (vectors or IAF)
– Approach chart available
– Procedure loaded on GNS
– NAV 1 set for primary source, “LOC” or “GPS”
– ID NAV. Check mode. Set course.
– NAV 2 set for secondary (required fix or backup to NAV 1)
– Altitudes for intermediate, final intercept, GS intercept (precision)
– FAF altitude (non-precision)
– Missed Approach procedure (course, altitude, and fix)
Approach callouts:
– Cleared for ____ approach. Altitude _____. Intercepting localizer (or final approach course).
– Call out course corrections.
Before Landing Checks (Callout & Flow):
– Complete BLC on visual/VFR: 5NM final or 5NM from airport when flying traffic pattern. In IFR: Complete BLC at least 1NM before FAF:
– 100 Knots
– GUMPS (Flow for Gas selector, Undercarriage, Mixture, Propeller, Seat belts/Switches)
– Glideslope Intercept
– At GS or FAF: 10˚ flaps, 90 Knots
– Call out altitudes every 100 feet until DA/MDA: “1800 for 1100.”
– Any course deviation within one dot of full deflection or altitude +/- 100 feet will require a go-around and climb on the final course.
If you’re new to written checklists, memorized flows or callouts for approaches, it usually takes two to three practice flights to get things fine-tuned, so try these out in low-workload, visual conditions before taking ‘em on a busy flight. —EK


